01
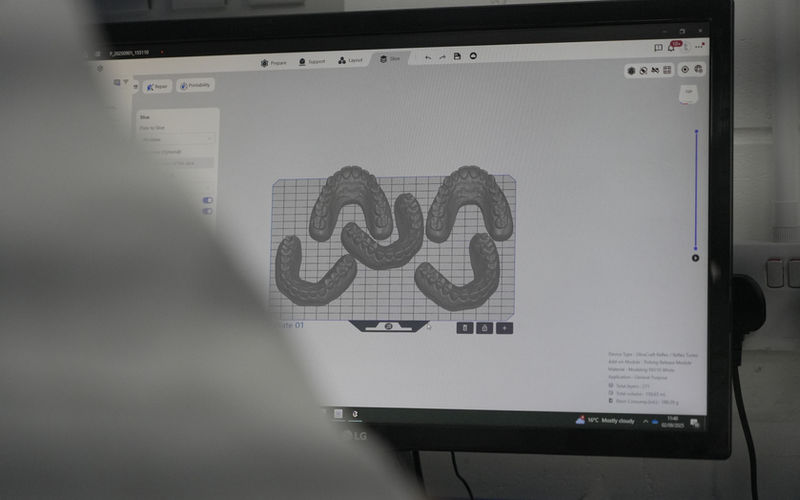
Fast turnaround
- Scans arrive instantly — no shipping or disinfecting physical impressions.
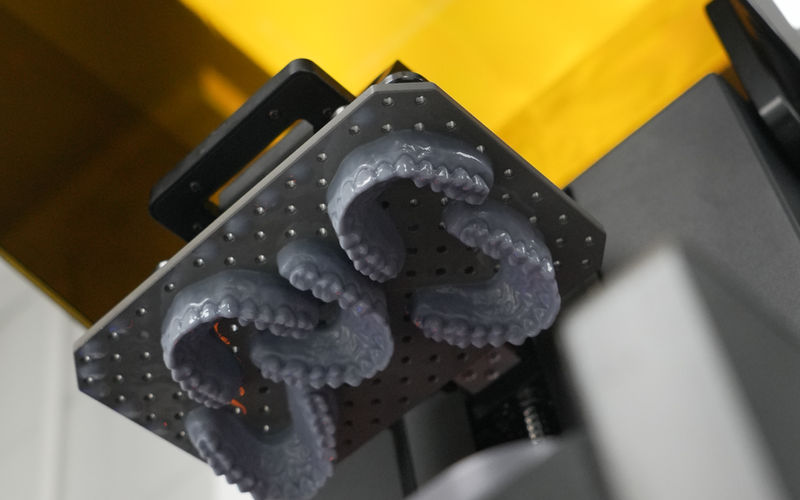
- We start printing models within minutes of receiving your scan.
Send scans from any major intraoral scanner and let us handle the rest — faster turnaround, better accuracy, and no extra fees.
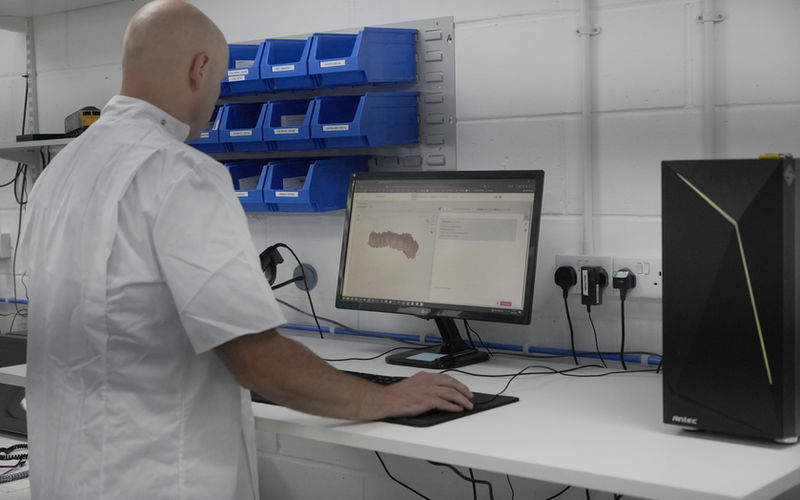
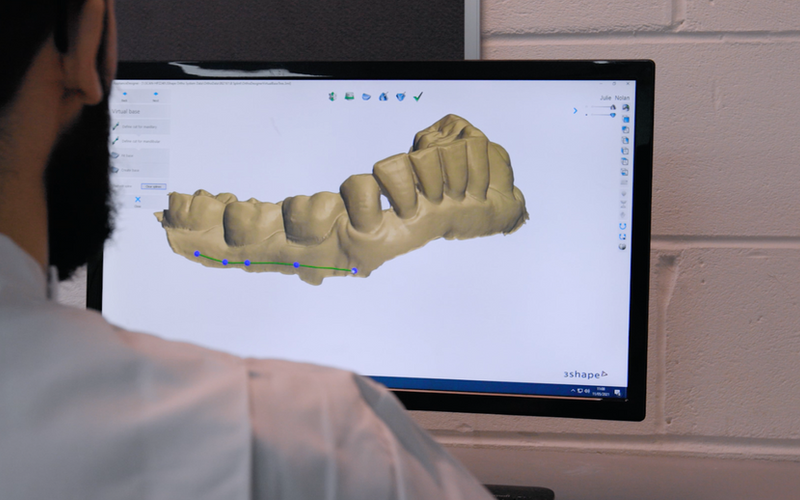
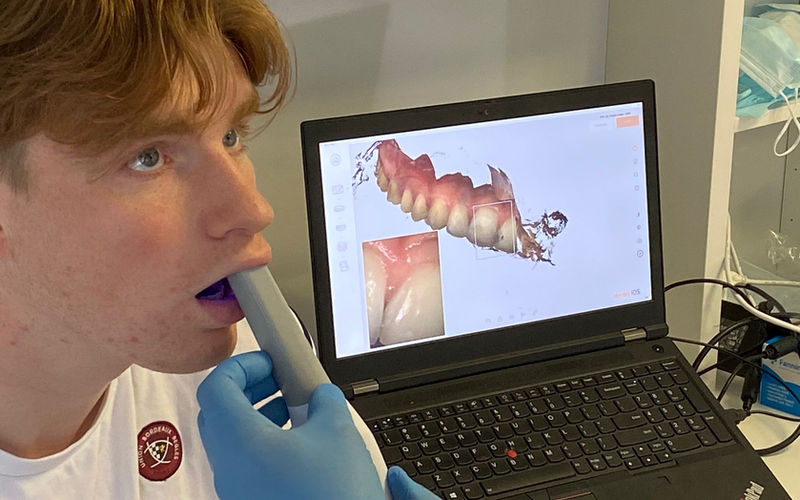
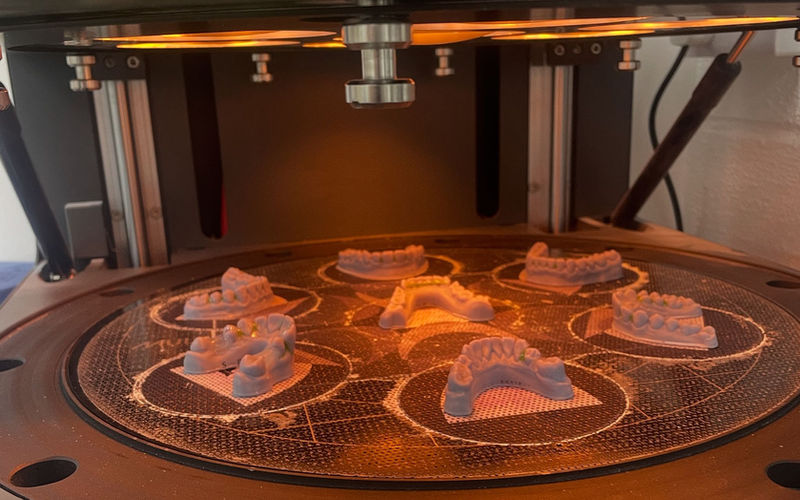
Send scans from every major intraoral scanner — no extra fees, no fuss.
A few small habits at chairside make a big difference to the quality of the scan we receive — and to how quickly we can return your case. Here’s the protocol we look for in a clean, workable digital impression.
Saliva, blood and pooled fluid scatter the scanner’s light and cause stitching errors. Isolate the area, dry with a gentle blast of air, and scan promptly — a clean field beats any post-processing fix.
Most scanners stitch best with a continuous sweep: occlusal → buccal → lingual, one quadrant at a time. Avoid jumping around or scanning in tight circles — it creates overlap and ghosting in the mesh.
Retract the gingiva fully before capturing the preparation, then scan the prep last when the field is at its cleanest. A clearly visible finish line is the single biggest factor in a well-fitting restoration.
Hold the wand at the scanner’s optimal focal length and roughly parallel to the surface. Pressing the tip against teeth or hovering too far away both cause focus errors the software has to guess around.
If an area looks warped, missing or doubled in the preview, delete that section in the scanner software and re-capture it. Stacking new data on top of bad data rarely improves it — and usually makes it worse.
Don’t scan blind and check at the end. Glance at the model on screen as you sweep — spot dropouts, holes and ghosting while you can still rescan with retraction in place.
Run the manufacturer’s calibration routine on the recommended schedule — usually weekly, or before any high-value case. Drift in the optics is invisible until you see distortion in a final restoration.
Capture at least one tooth either side of the prep, the full arch where practical, and a clear bite in MIP. The more surrounding anatomy we can see, the more accurately we can articulate and design the case.
Even a perfect scan needs context: shade, material, tooth number, occlusal scheme, and any patient notes. A complete Rx alongside the scan file avoids back-and-forth and keeps turnaround tight.
New to digital impressions or switching scanner? Get in touch — we’re happy to walk through your first few cases and help you get the most out of your system.
If you're exporting scans rather than sending through one of our scanner inboxes, please send an open 3D mesh — .stl, .obj or .ply. These are the only formats we can build a model from.
A screenshot or photo of the scan (a .png, .jpg or PDF image) can't be used — it's a flat picture with no 3D data, so we can't make an appliance from it.
A few things that trip scans up, and how to avoid them. Catch these on the live preview and you'll save a rescan — or a remake.
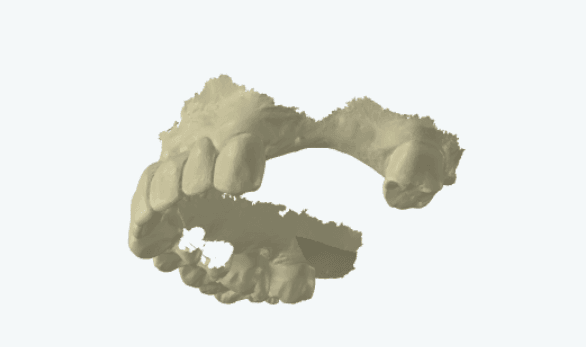
Gaps and torn edges mean an area wasn't fully captured. Move the wand slowly, overlap each pass, and go back to fill any holes before you finish — the software can't invent what it didn't see.
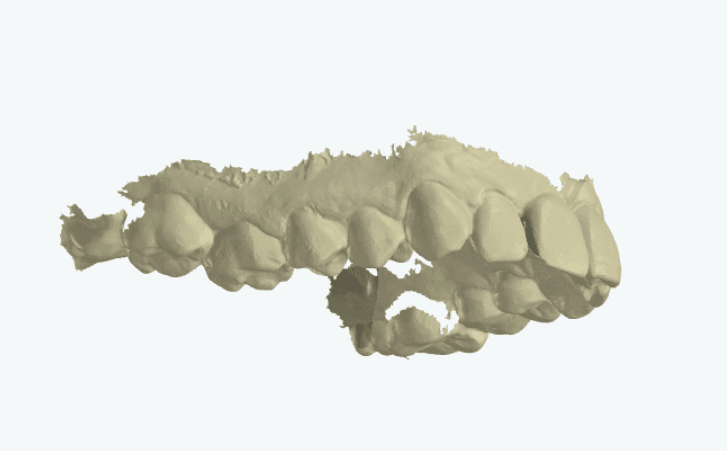
Fuzzy, frayed edges are cheek, tongue or saliva caught in the scan. Retract the soft tissue, dry the field, then delete and re-capture the affected area.
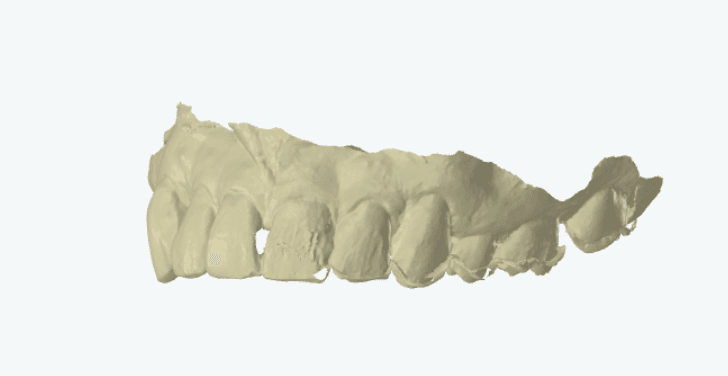
Blurred, smeared surfaces happen when the wand moves too fast or lifts off. Slow down, keep a steady distance, and rescan in one smooth, continuous path.
The bite scan tells us exactly how the arches meet — the workflow is the same on every intraoral scanner.
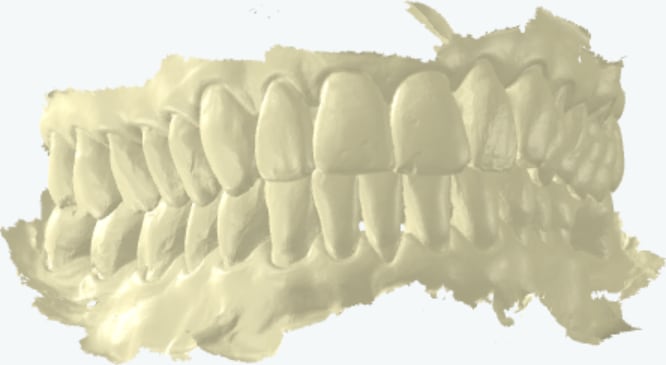
Scan the full upper arch, then the full lower arch.
Ask the patient to close into their normal bite (or the bite prescribed for the appliance) and hold it still.
Scan the buccal (cheek-side) surfaces with the teeth together — capture 3–4 teeth on both the left and right sides so the software can align the two arches.
Check on screen that the arches have snapped together correctly, then export and send as usual.
Retract the cheek and keep the buccal scan steady across both arches. If an appliance needs a specific bite — for example a protrusive construction bite for a snoreguard — capture it in that position and note it on the prescription.
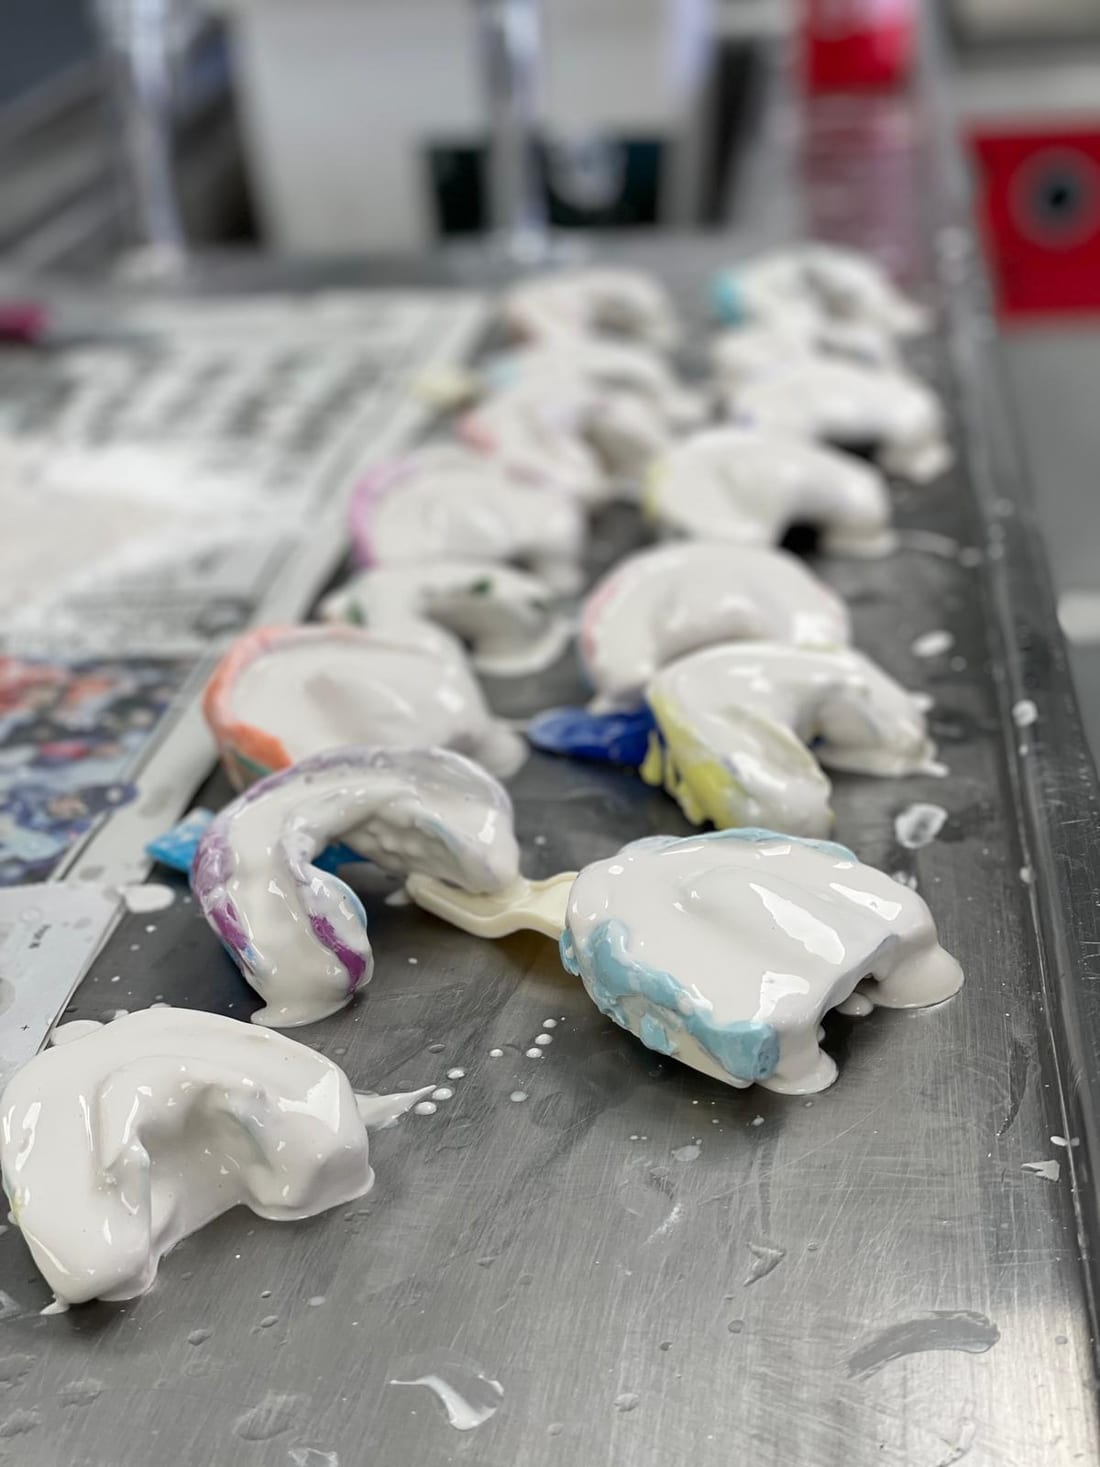
You don't need an intraoral scanner to work with us. We happily accept conventional alginate or silicone impressions — post them to us or use our free local collection, and we'll take it from there.
Every impression is disinfected on arrival and cast into a working plaster model at no extra charge — just as digital scans come with free 3D-printed models — ready for us to make your appliance.