
Send a digital scan
From any major intraoral scanner (iTero, Medit, 3Shape) or email us STL/PLY/OBJ files.
How to connect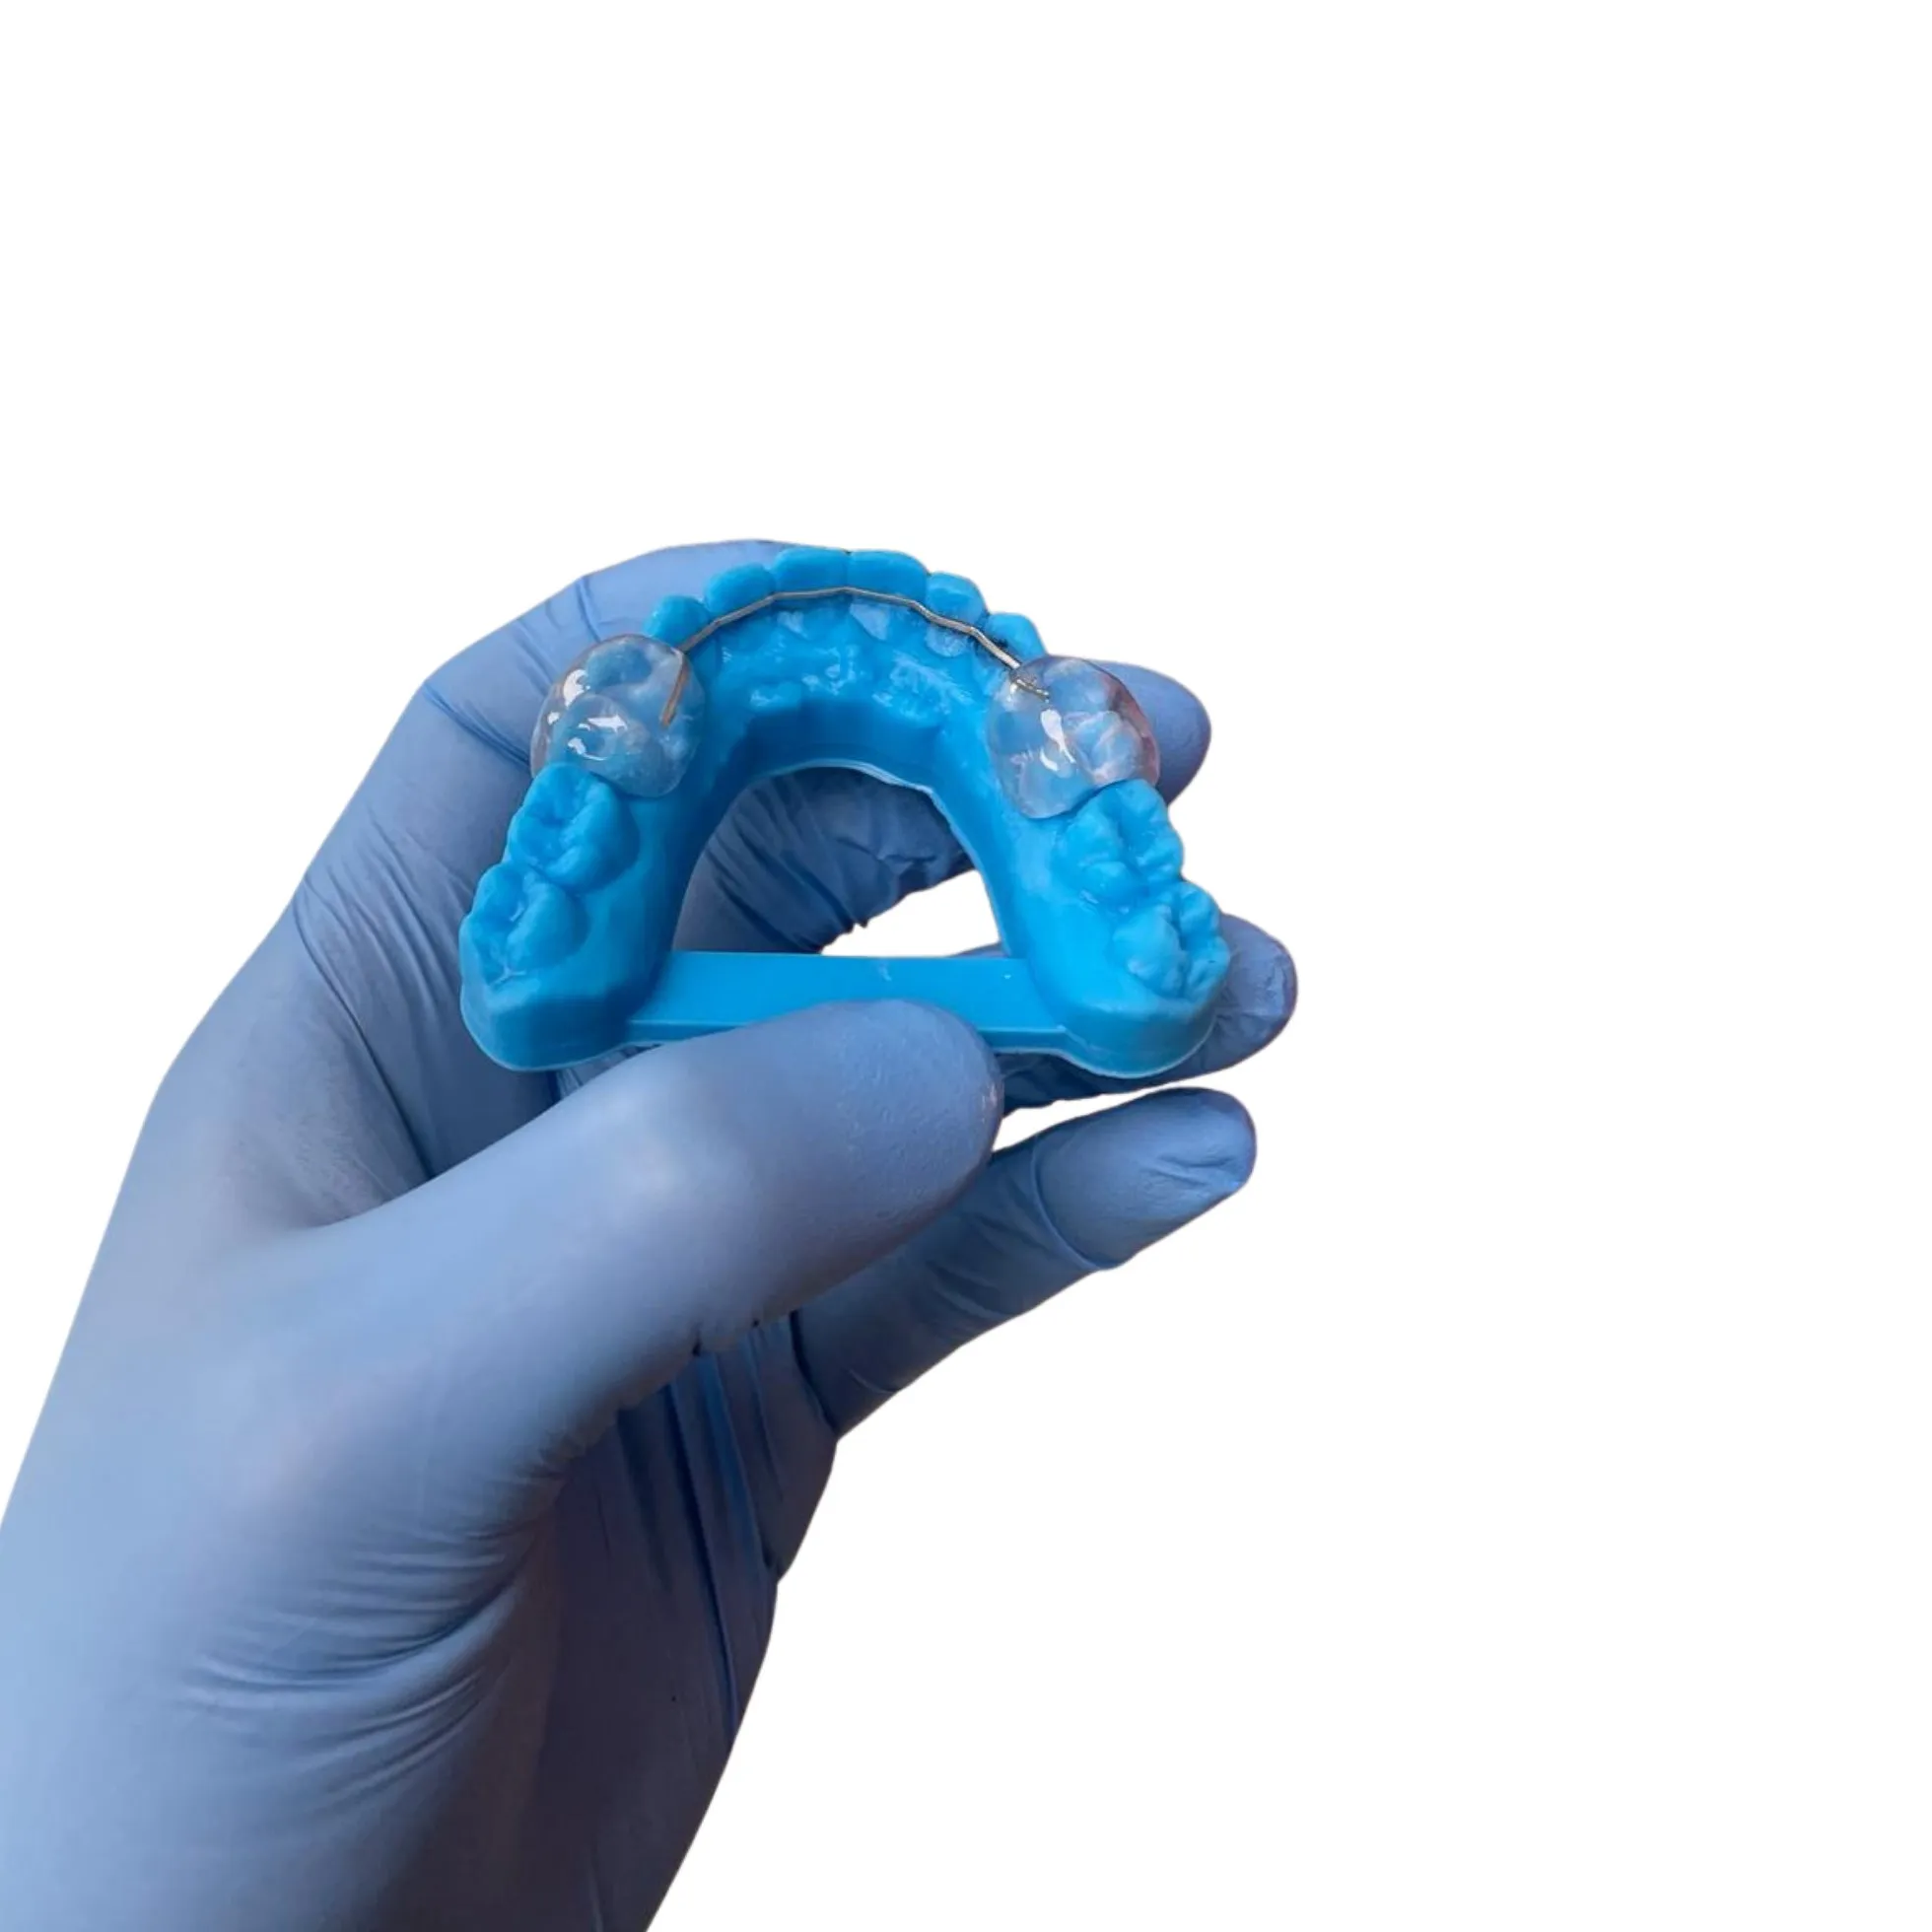
A bonded fixed retainer wire bent to tooth contours, with a custom seating jig for precise chairside placement.
Every fixed retainer arrives with a custom seating jig that locates the wire in exactly the position it was designed to sit. Follow these steps for a fast, predictable bond — typically five to ten minutes chairside.
Before you start — check the jig seats fully and passively on the model or in the mouth before etching. The wire should already be captured in the jig; do not remove it until the composite has cured.
Polish the lingual/palatal surfaces with non-fluoridated pumice, rinse and dry. Seat the jig with the wire in place and confirm it locates fully and passively, with the wire sitting flush against each tooth.
Isolate the anterior segment — rubber dam or cotton rolls with good retraction — and keep the field dry throughout. Moisture control is the single biggest factor in a lasting bond.
Etch each bonding site with 37% phosphoric acid for 20–30 seconds, rinse thoroughly and dry to a frosty appearance. Apply a thin coat of bonding agent to the etched enamel and light-cure.
Reseat the jig to bring the wire back to its exact position. Apply composite over the wire on each tooth, working through the access windows in the jig. Light-cure each pad fully.
Once every pad is cured, gently peel or ease the jig away — the wire stays bonded in place. Remove any jig material remaining between the wire and the teeth.
Smooth and polish the composite pads, check there are no sharp edges, and confirm the occlusion is clear. Floss under the wire to check access, then confirm every tooth is firmly bonded.
New to fitting bonded retainers, or want to talk a case through? Get in touch — we're happy to help you get the most out of the jig system.
Explore the rest of the range — tap any appliance for its details.
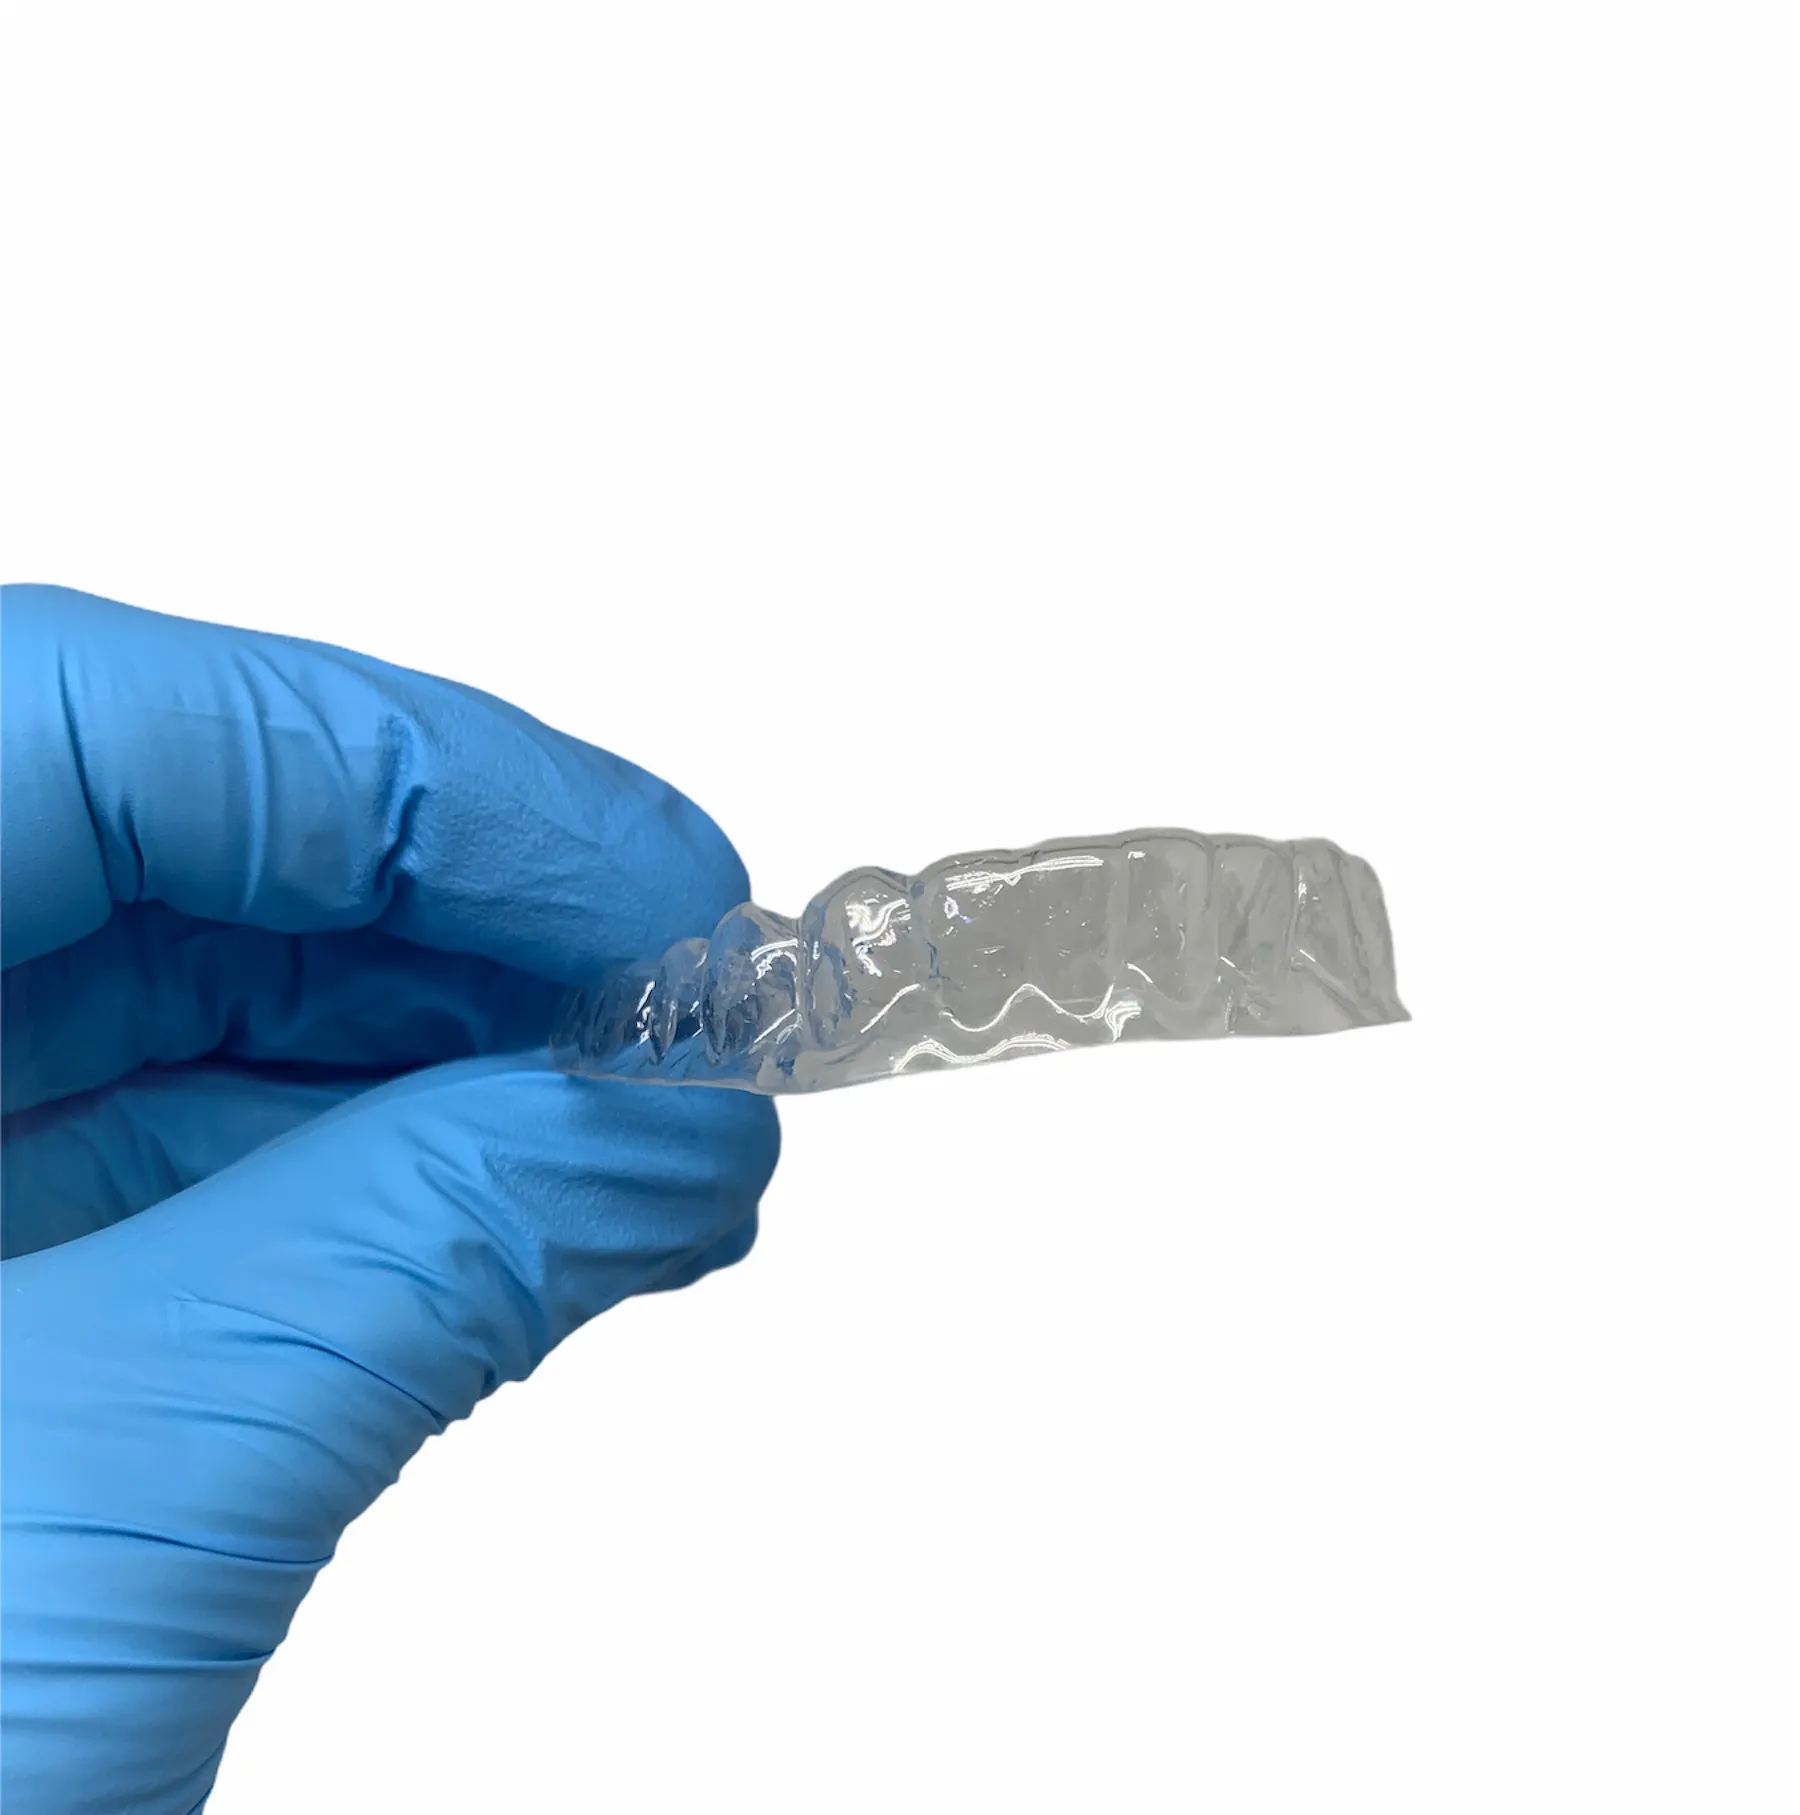
Next-generation thermoformed Essix retainers — enhanced flexibility, exceptional clarity and a soft occlusion for patient comfort.
View details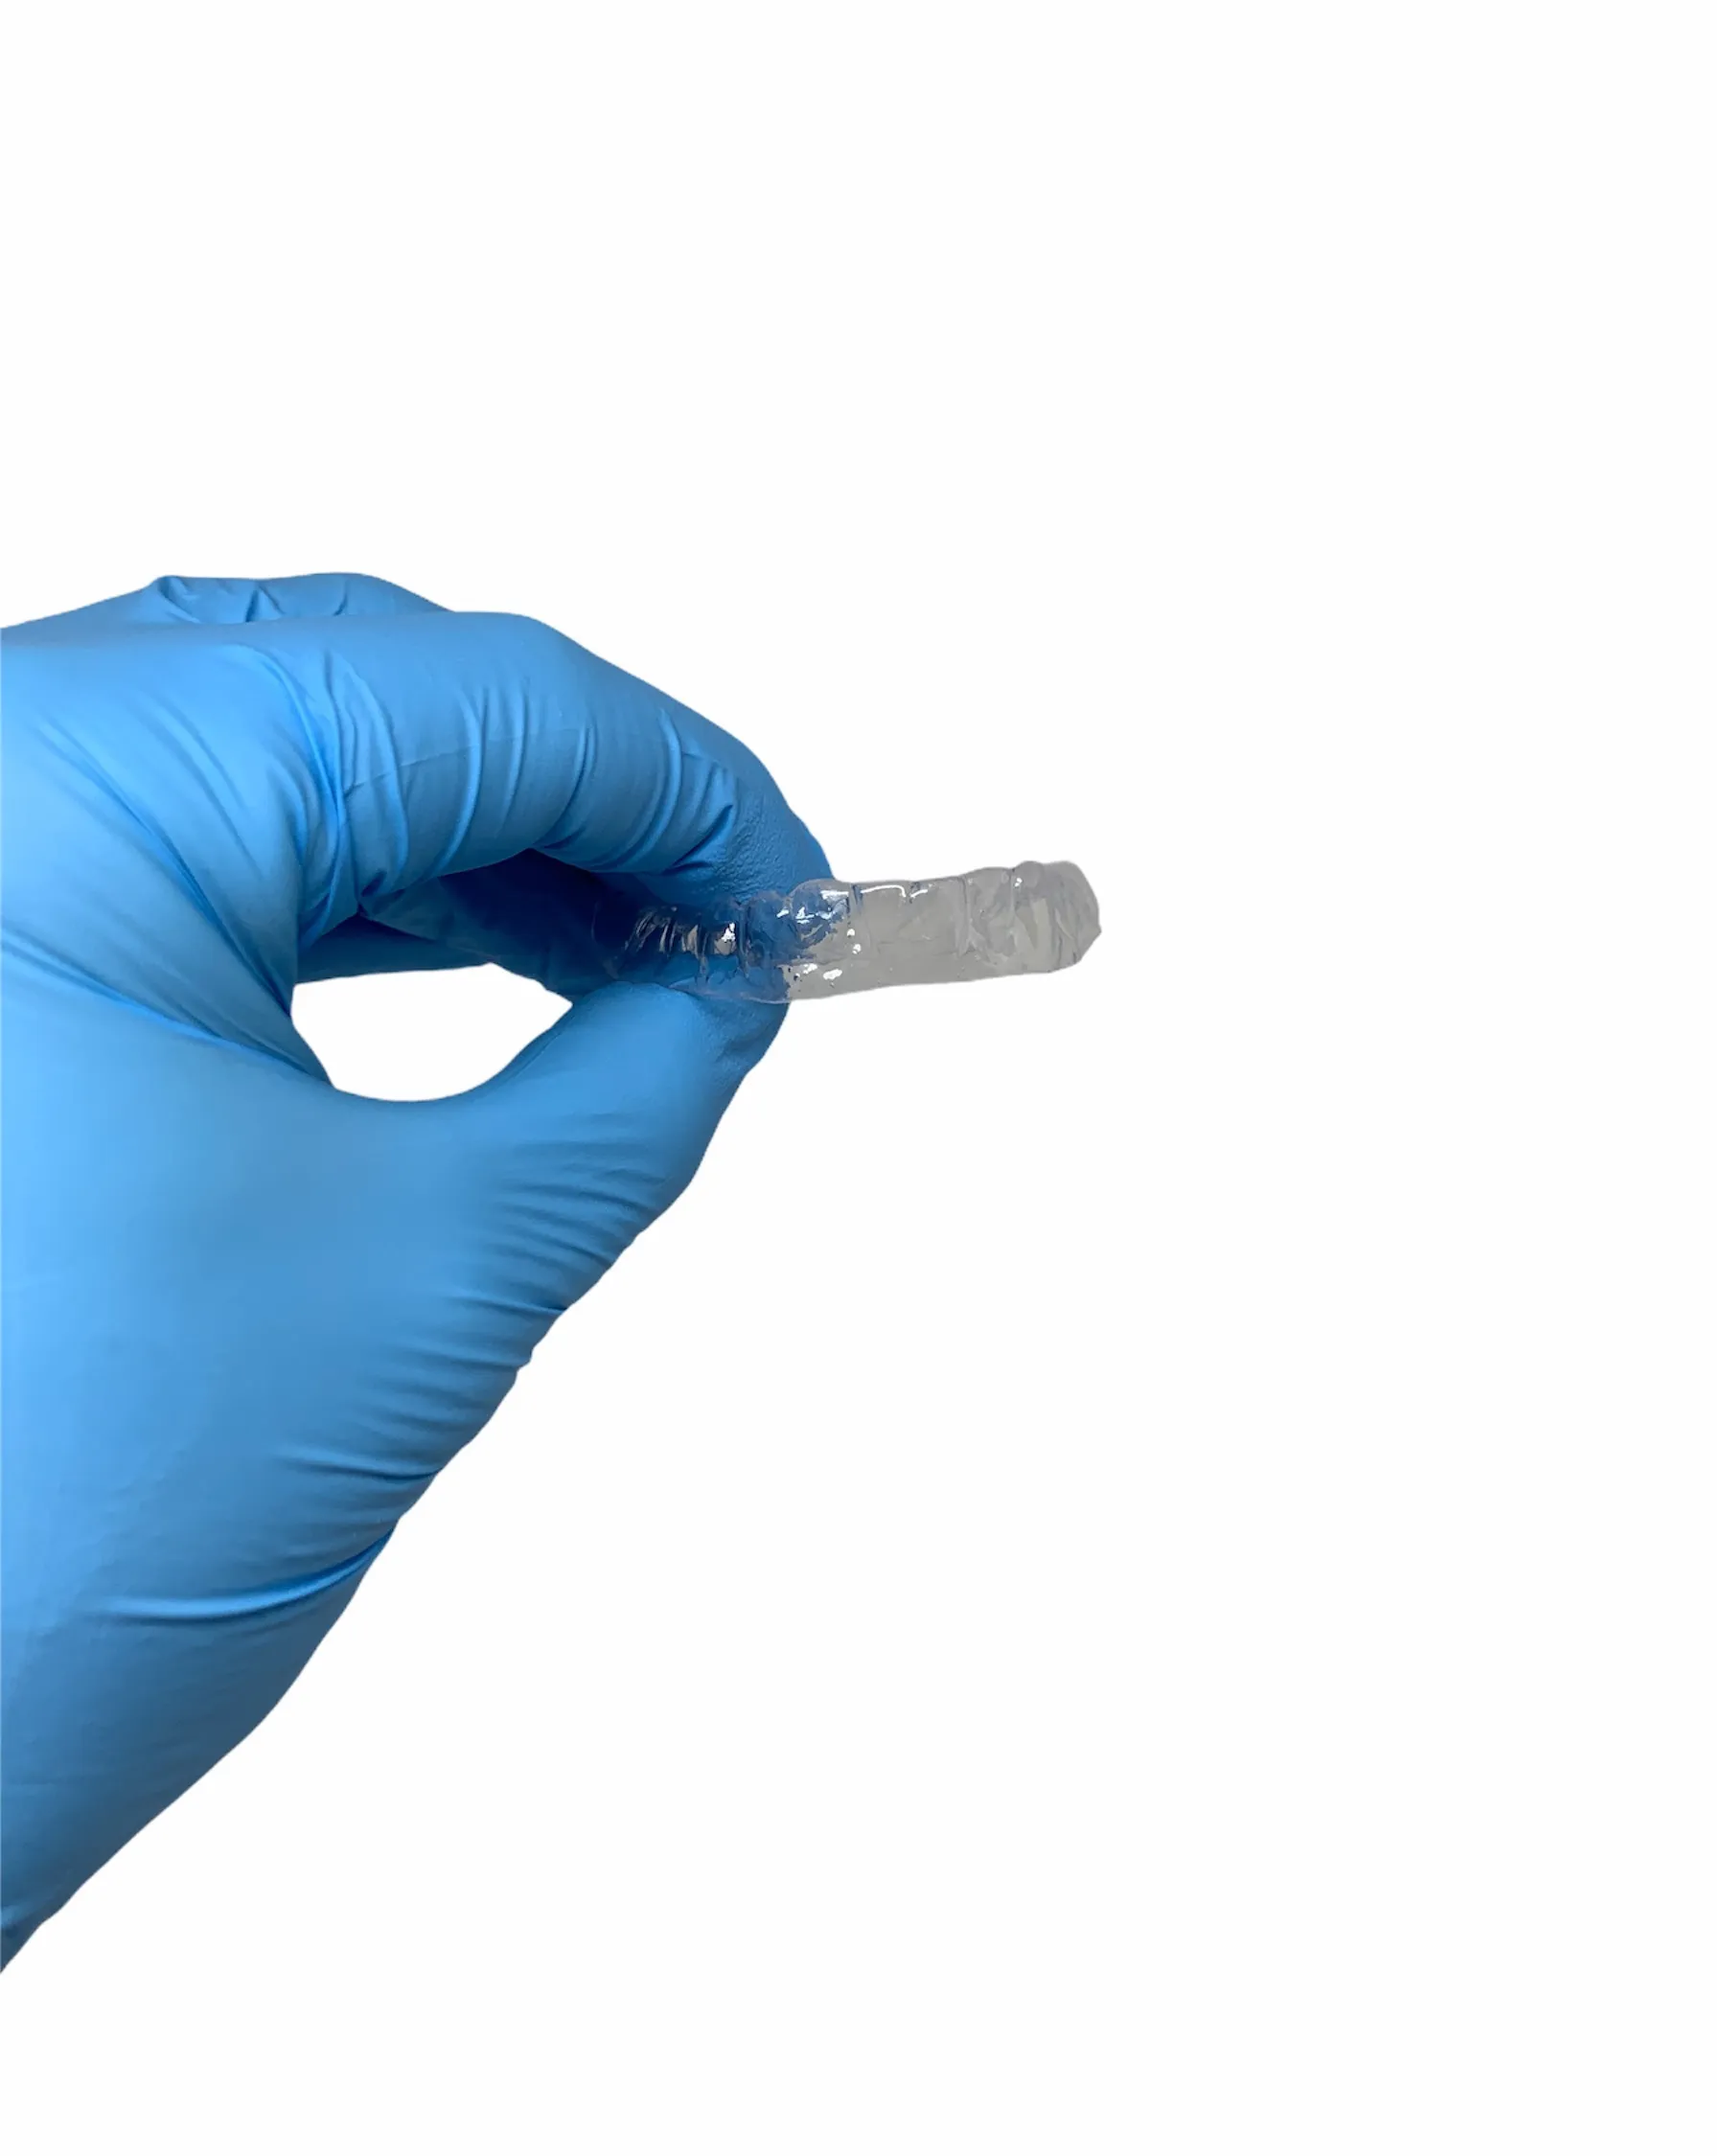
Zendura A — high-performing rigid resin with superior crack resistance and stain clarity. Also suitable as a thin hard bruxism appliance.
View details Zendura FLX — an elastomeric inner core for flexibility and a hard outer shell for grip. Handles rotation and extrusion, and protects against grinding.
View details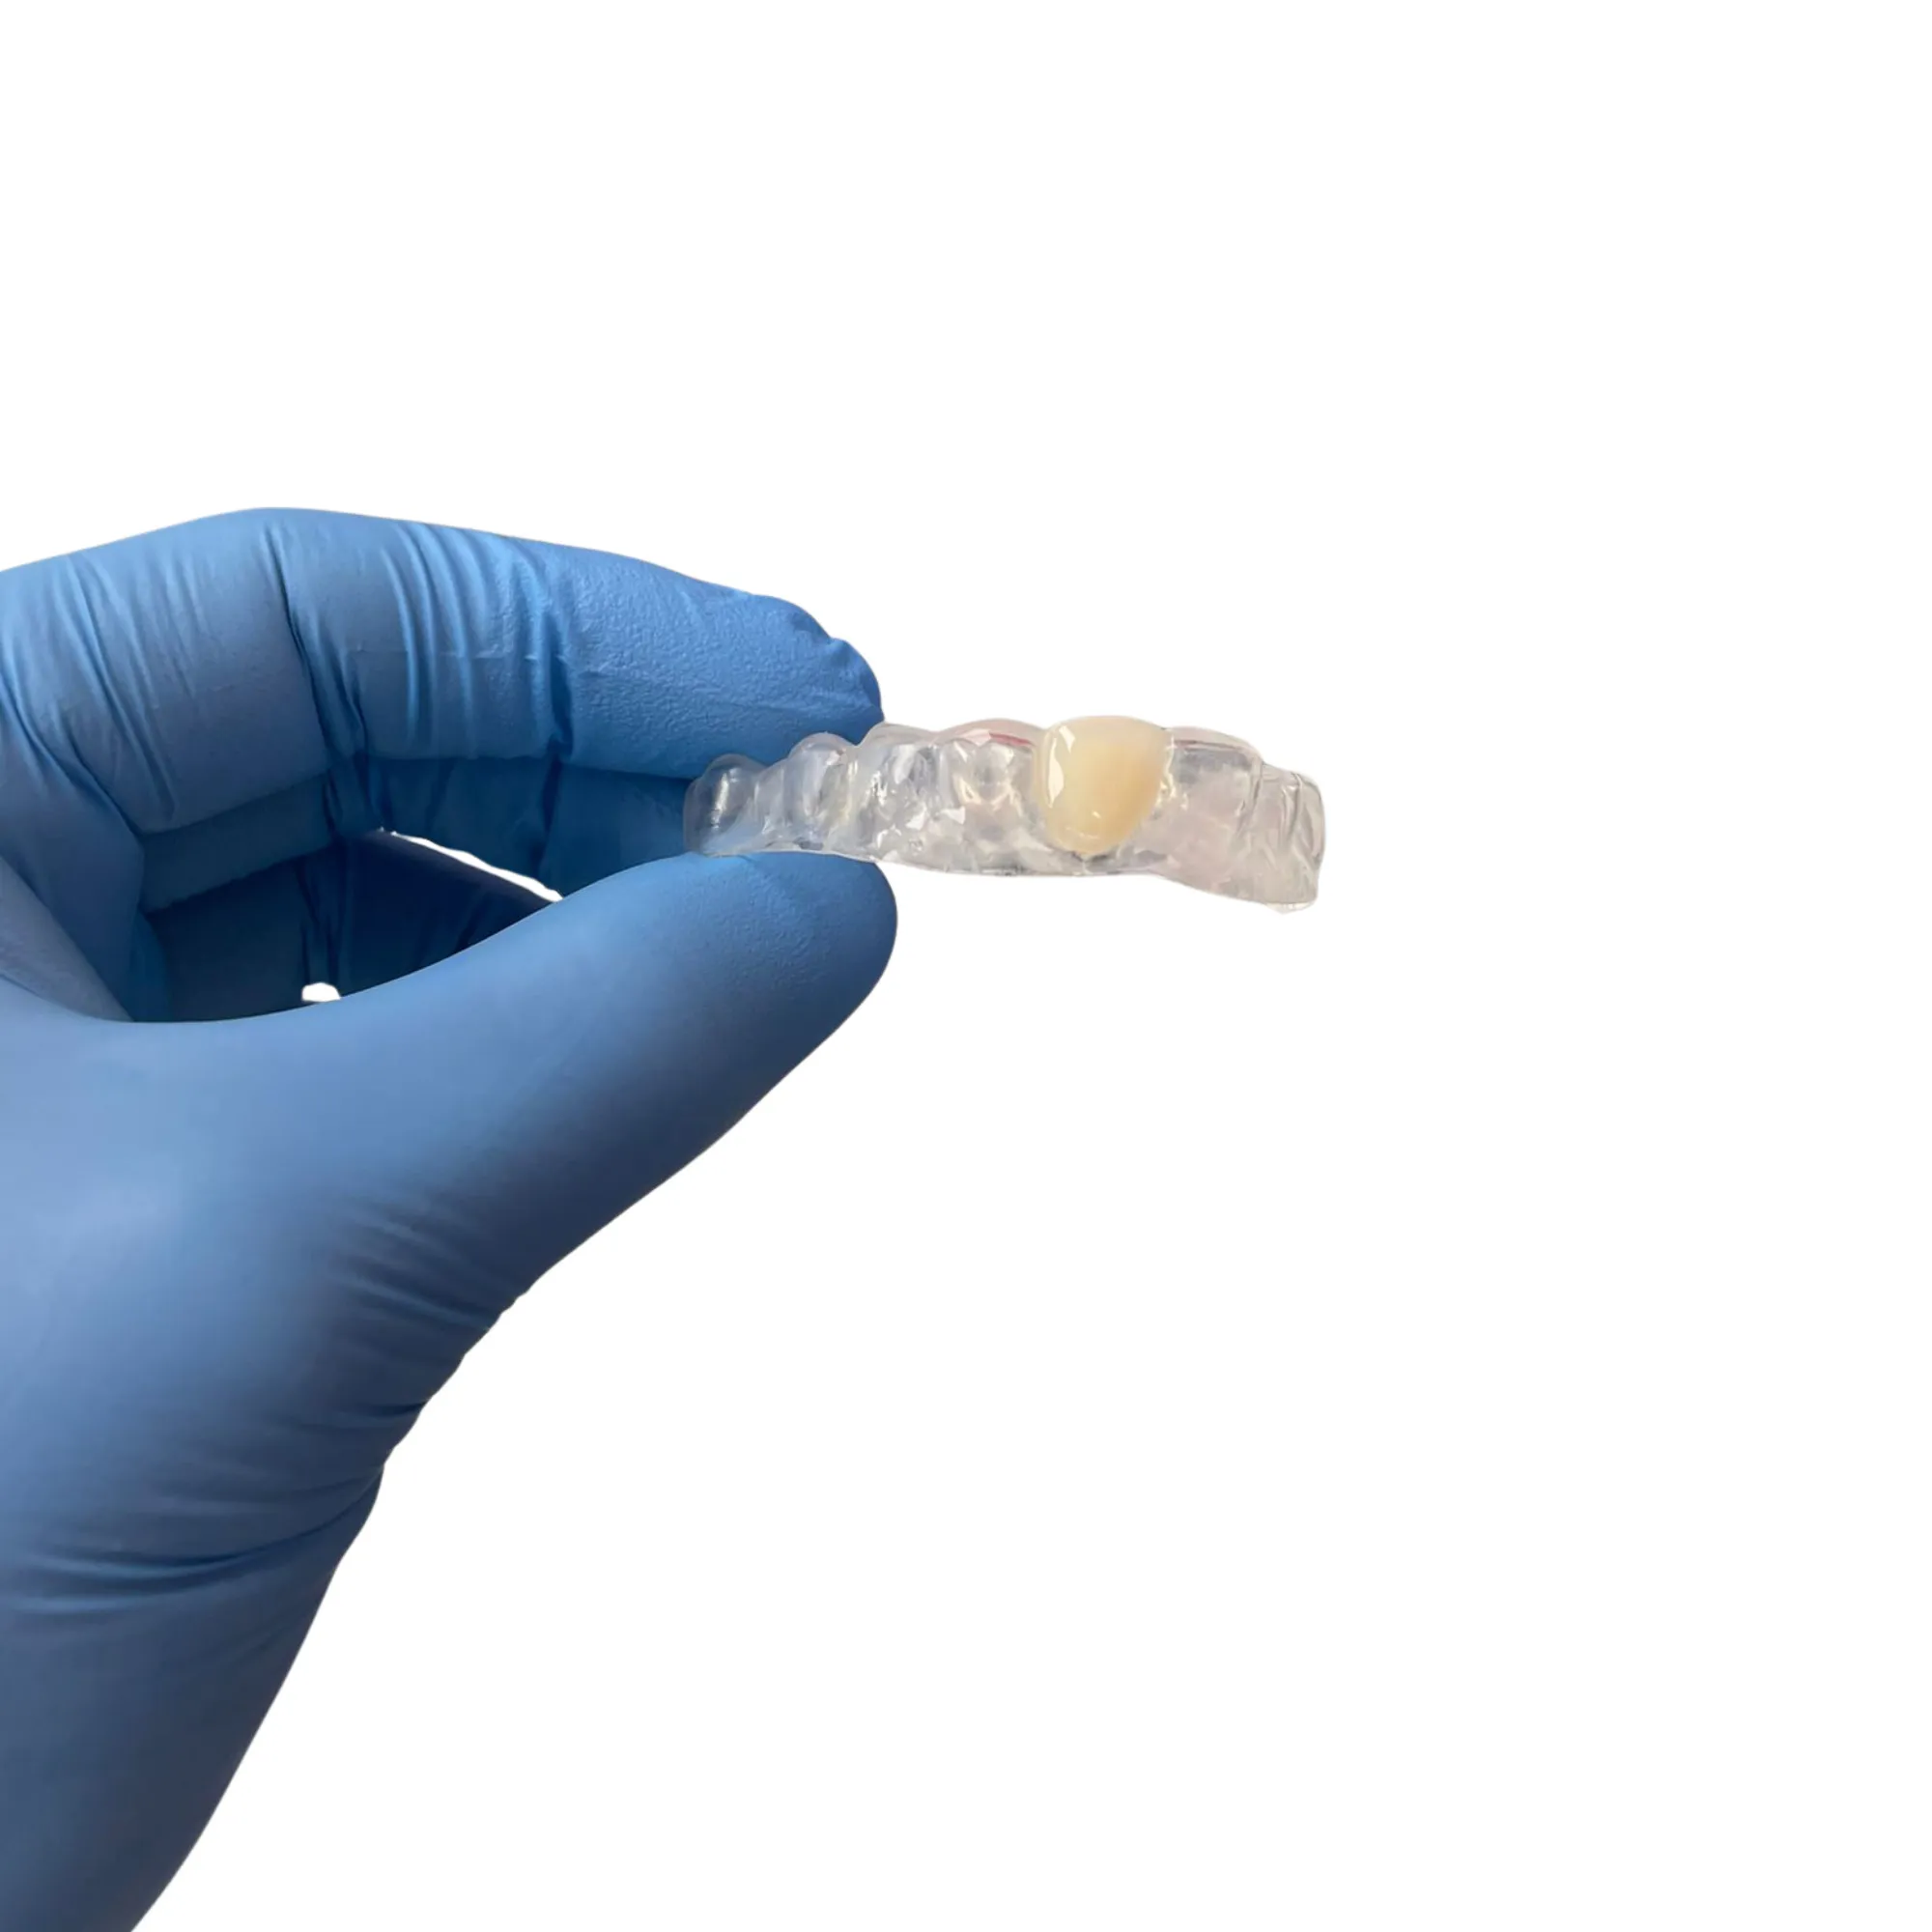
A clear retainer with a pontic tooth to hide gaps after extraction — virtually invisible, with a natural look and pre-extraction options for same-day fitting.
View detailsScan or impression — whichever your practice prefers.
From any major intraoral scanner (iTero, Medit, 3Shape) or email us STL/PLY/OBJ files.
How to connectAlginate or silicone in a rigid tray with a bite registration — or ask about free collection.
Arrange collectionOpen an account, request a price list, or just send a scan — we'll take it from there.